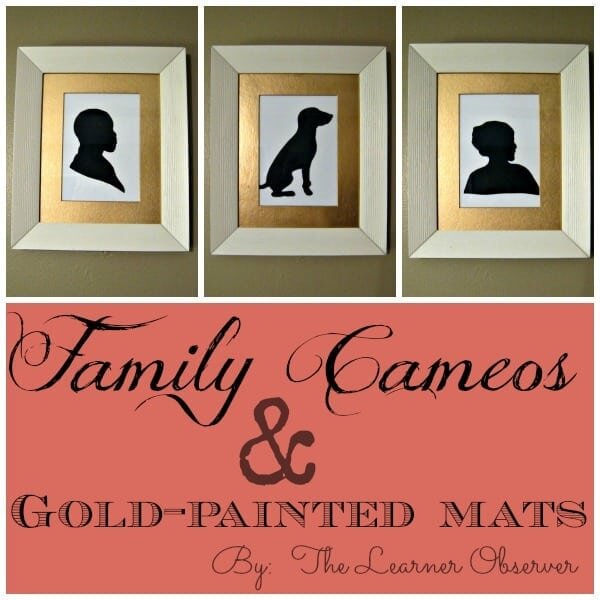
My version of DIY Cameos

I have always had a thing for cameos. When I was little, I treasured this little pink and white cameo necklace or ring or brooch or something that I had. Okay so it doesn't sound as if I liked it THAT much... Ultimately I like that the shape of someone's silhouette is so unique, yet so unlike a photograph that the image is instantly more special. And it seems this classic art-form is not leaving us anytime soon.
While browsing the wonderful world of blogs, I came across one picture in particular that made me go "ooooohhh!" Here it is:
 via The Nester
My favourite is the one of the dog. Adorable. I love how the silhouettes add a simple, yet personal touch to the whole (already personal) wall. This is entirely inspiring for my own focal wall in our living room, because you may or may not also see a chalkboard in there (like this one). What can I say, The Nester is just full of inspiring and amazing ideas!
Here are the TEN (sounds like a lot... it's not. Promise.) steps I took to make my very own:
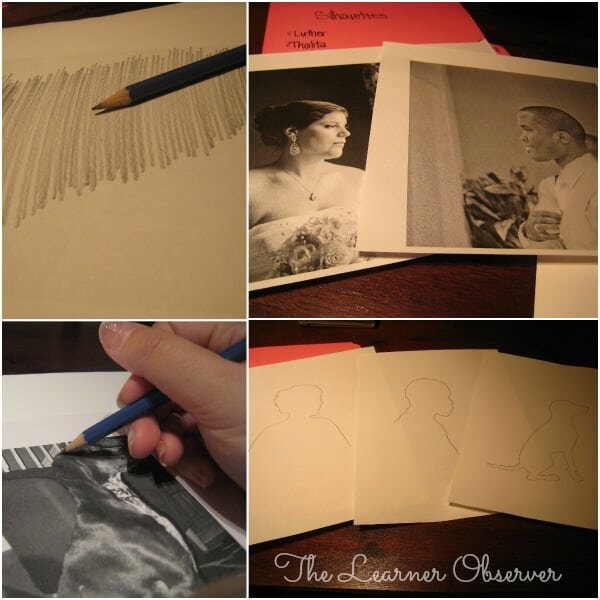
- Took/chose photographs of our family to be used. (I chose two wedding photos and took one of Luther.)
- Printed them in several different sizes to figure out what would work best.
- Traced the images onto white paper.
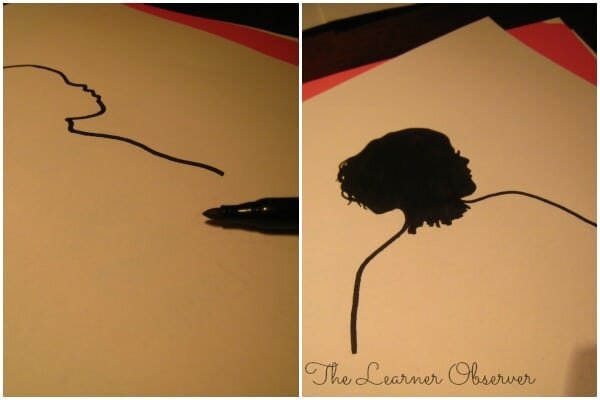
- Filled images in with black marker.
- Did not like the way they looked. At all! The marker left uneven lines on my perfectly drawn cameos!
- Decided to buy some quality white and black card-stock.
- Traced images onto black paper.
- Cut them out.
- Used spray adhesive on the backs of cameos and glued onto white paper.
- Cut white paper to size. My cameos are now ready for framing.
YAY!
At this point, I was "finished"...but there was one problem. The frames I bought at IKEA (the HAVERDAL), has an off-white mat, and I was just not a fan of the way it looked. I had some gold acrylic paint sitting around, so I painted one... the colour was pretty hideous - mustard-y and dull. So I tried using the gold marker from the polka dot bowl project... but that would have taken forever (DUH, what was I thinking?), and much like the cameos I attempted to fill in with marker, there were very obvious marker lines. Off I went to get some spray paint. Problem fixed!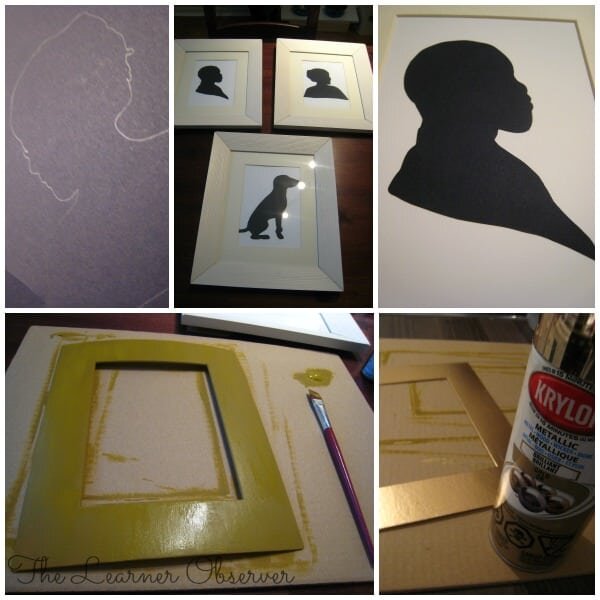
Here is the final project once again. These will eventually go on the same wall as the chalkboard with some more artwork I'm preparing. Can't wait for that to happen!!!
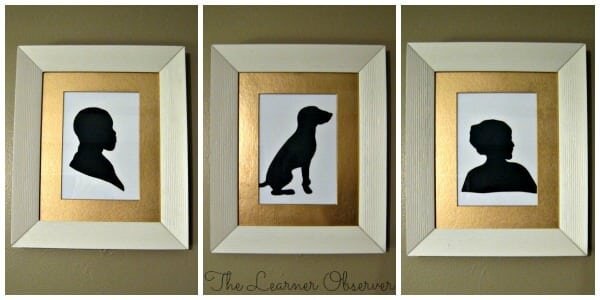
I love how special these are now! Has anyone else tried or considered trying this?

This post has been featured!